Today myself together with Jessica have discussed with Mark the inside signage. We have discussed on the materials we can use for the signage and we came up with 3 materials that we can use which are: acrylic, aluminum and wood. We have agreed that we should go for wood material as it would cost less then the other materials. Also we have agreed that we should use die cutting for the words and that we can use the one we have at school.
The next step is that we go at the workshop to tell them what we have in mind and if we can use the school die cut. Then we start to build a mock-up sign to see how it will come and show it to the teachers and school directors. We also want to test this sign by inserting led lights inside, because we would like to add light to the signs.
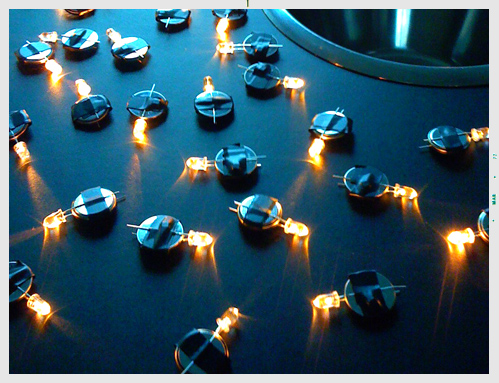
We have found a video how to make these led's without the need of wires and plagues, all we need is led's and watch flat batteries.
Things we need:
The next step is that we go at the workshop to tell them what we have in mind and if we can use the school die cut. Then we start to build a mock-up sign to see how it will come and show it to the teachers and school directors. We also want to test this sign by inserting led lights inside, because we would like to add light to the signs.
We have found a video how to make these led's without the need of wires and plagues, all we need is led's and watch flat batteries.
Things we need:
- Wood
- Led's
- Black type
- Batteries
- Metal strip
- Coloured film paper
 RSS Feed
